Help Articles For ERPNext Part 3
Make Read Only After Saving
In ERPNext v16, client scripts can always make the fields on a form read-only. This is a common way to allow users to enter or change a value only when they first create a document, not after it has been saved. This stops users from accidentally changing important fields after they submit or reuse the data, which makes sure that the data is correct.
You can change how the field looks and works while the program is running by using the cur_frm.set_df_property method. You can change any field’s properties, such as whether it has a label, is read-only, is hidden, or is required. Depending on the status of the document, the current state of the process, or specific logic you add to the script, this can be done.
We also check to see if the document has been saved at least once by looking at the __islocal attribute of the DocType in this script. If __islocal is set to 1, the document is new and hasn’t been added to the database yet. This flag goes away after the document has been saved. This lets the script find saved entries and make sure they can only be read.

Automating Issue Assignments in ERPNext
Modern support automation technologies make customer service much more efficient by making people responsible and speeding up response times. In ERPNext v16, support issues are automatically assigned to the right support agent or product specialist, making sure that each new ticket goes to the right person. Because of this, customers get answers faster and more accurately, and the support team shares the work evenly. The Assignment Rule feature, which was first added in version 12 and improved in later versions, is a key part of v16 that makes it possible to automate these kinds of tasks.
First, we would require configuring an email account that would be used to convert client emails into support tickets in the ERPNext Issue DocType.
1) Create a support email: Support email address is created by using the ERPNext Email Account Doctype. It is the creation of the email domain, log in details, the incoming (IMAP/POP) and outgoing (SMTP) servers, and ensuring that the mailbox is accessible to ERPNext. The majority of the customer service queries would be redirected to this email.

2) Add to Issue: To allow email in this account into ERPNext, you are required to install an option which is labeled as Enable Incoming. By clicking on the append to box, you will enter the DocType by which you wish these emails expressed to be stored. Selecting “Issue” in this case will create a new Issue record as soon as you receive an email. Additional options to make it easier to manage Tickets are to change the default issue category or priority, or to add responses to open problems.

Once you log in, it tends not to require any additional changes to this default setting beyond a password or email change or a server change out of the software. After you have configured it, you will see the tickets created out of the incoming emails appear immediately on the ERPNext Issue List. Under this configuration, the work of the support team can be easily controlled using Assignment Rules to ensure that the process is always organised and that any outstanding support problems are resolved as quickly as possible.
3.) Making an Assignment Rule: Assignment Rules allow you to configure rules on the automatically receiving of problems by certain users, roles or teams. Rules can be established on any of these things; there are among others; Type of problem, importance of the problem, key words of the subject, the customer, territory, or custom fields. The regulations may also involve load balancing methods. This ensures that all the help agents have equal share of tickets.
4) The procedure will be automated by taking the steps in step (3).
With the Assignment Rule activated an issue will be automatically assigned when it is created or modified and thus will satisfy the criteria established. It is an automatic process in operation and eliminates manual sorting of tickets. This occurs when the status of an issue ticket that has already been opened changes or the introduction of a new issue. Assignments are provided immediately, in accordance with the already existing rules.
Please keep in mind that you can change, disable, or rearrange the Assignment Rules at any time to make room for changes to the workload, support protocols, or team composition. This flexibility makes sure that the automation stays up to date with changing business needs.

You can use the same Assignment Rule structure to automate other business tasks in ERPNext, like giving the sales and operations teams tasks, leads, or opportunities. This makes it easier to follow up, keeps ownership consistent across all workflows, and increases conversion rates.
Email Error in Sending or Receiving
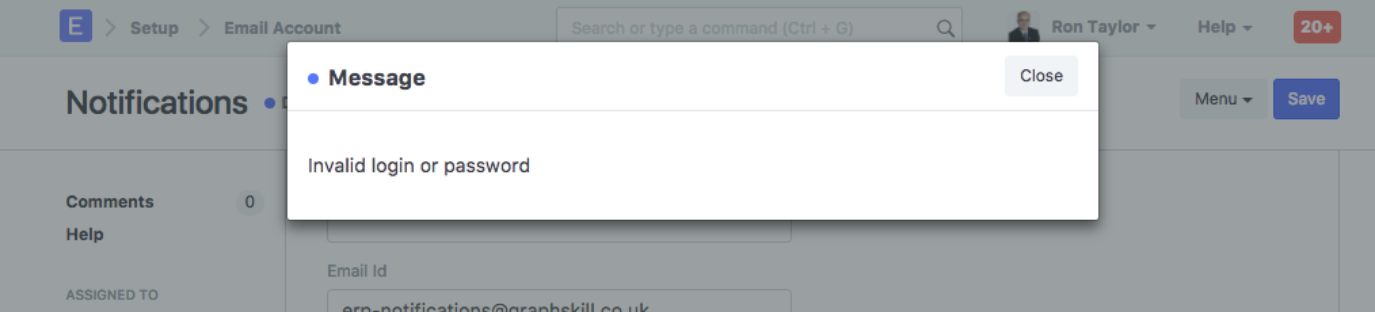
ERPNext v16 users are able to configure and adjust their Incoming and Outbound email accounts to support their email gateways, such as Gmail, Outlook, or in their own SMTP/IMAP server. Saving an email account, ERPNext will attempt to connect to the email gateway immediately with the information you provided it as the server, ports, encryption and login details. This is done to ensure that the email setting is accurate when you are either sending or receiving emails. In case the connection is successful, the email account will be safe. In case connection is lost during saving, there will be an error message displayed in ERPNext.
This issue implies that ERPNext will not be able to link with your email server using the email gateway as well as the email account credentials that you provided in the Email Account setup. Some of the most common ones are incorrect passwords or email addresses, incorrect SMTP/IMAP server addresses, incorrect port numbers, incorrectly configured SSSL/TLS encryption settings, or your email company not permitting the use of the IMAP/SMTP. Others are due to the security measures where a unique password to use in the app such as the two-factor authentication is required.
It is important that you ensure that the server setting and login information that you provided to your email service provider are accurate. Once the email account is established and the connection test is complete, the ERPNext system should be capable of emailing and receiving alert notices, documents, new support tickets, etc. without issue.
You don’t need to make a separate email account to send emails because the ERPNext Email Server is already set up on ERPNext sites. If you don’t want to use your own email server, you don’t need to do anything else. By default, you can still use the ERPNext email service. If you need to use a branded or custom sender domain or get emails (for example, to automatically make Issues or Leads from emails), you will need to set up your own email account.
Maximum User Limit Issue
The number of System Users you can make and use in ERPNext v16 determines your subscription plan. A System User is anyone who can get to the ERPNext desk and use backend modules like Accounting, Stock, CRM, or HR. Whenever the total number of active System Users (including the number of concurrent sessions they are allowed to have) reaches the subscription’s maximum, ERPNext will stop letting new System Users be created. If your plan only lets you have ten system users and you already have ten set up, the system won’t let you add an eleventh user. Instead, a message will pop up saying that the maximum number of users has been reached.
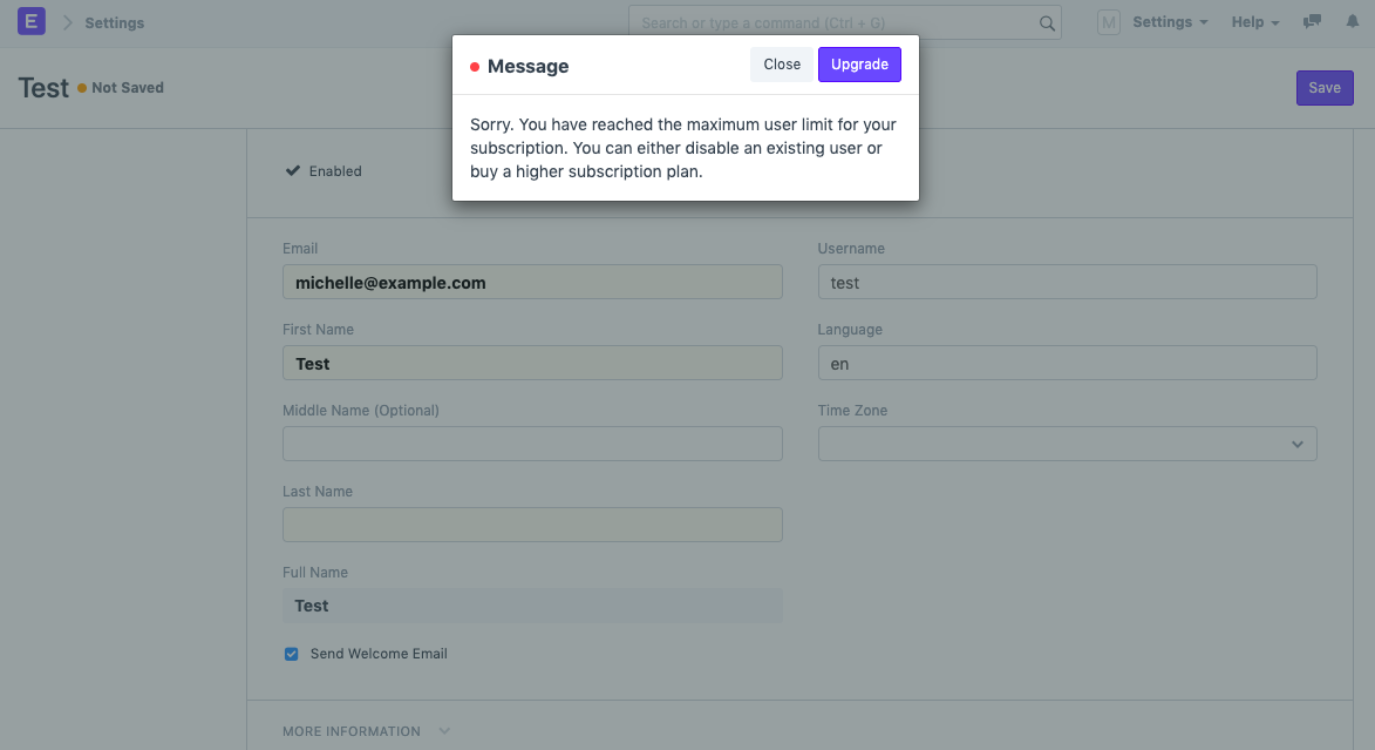
There are usually two ways to fix this problem:
- If you upgrade your ERPNext subscription, you’ll get more user licenses. As a result, you can get more people to use the system.
- You can disable or remove users who no longer need access to the system. When a user is disabled right away, their user slot becomes available without losing any data or document ownership.
Even if you have fewer System Users than your membership limit, you might still see this error in some cases. You might have a subscription for five system users even if you only make three user accounts. You might still see the message “maximum user limit reached” if you try to add a fourth user. This usually happens when one or more people are running a lot of sessions at the same time.
Each active session in ERPNext counts as one System User license. If there are three users and one of them can have three sessions at the same time, then there are five people involved (1 user × 3 sessions + 2 users × 1 session each). In this case, the system thinks that all five System User slots are full, even though there are only three user records.
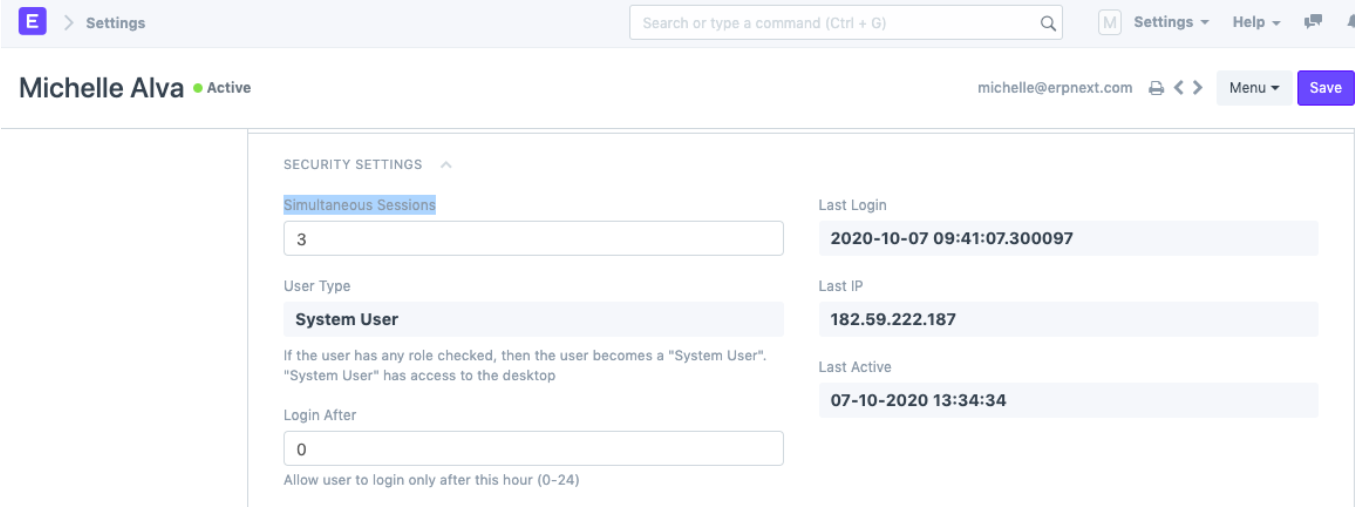
You need to look at and lower the number of concurrent sessions that current users can have in order to add new users. To make changes, open the User record and go to the Security Settings section. Next, type the number you want into the Simultaneous Sessions box (most people type 1). You can use the sessions that are now available to create new System Users right away after you save the changes.
This limit only applies to people who use the system. You can make as many Website Users (like customers or portal users) as you want because they don’t count against your System User subscription limit.
Perm Level Error
When you try to add or change access rules in ERPNext v16’s Role Permission Manager, you might see an error message like this one:
In row 8 of Customer (or any other DocType), the System Manager (or any other role) for level 2 (or any other level) is: You must first set permission at level 0 before you can set it at higher levels.
This error means that the current permission settings for the selected DocType are not consistent. In ERPNext, you should always set up lower permission levels before higher ones. This is called a hierarchical permission structure. If you break this rule, the system won’t let you save the changes to the permissions, so you don’t have to worry about strange access behaviour.
All ERPNext roles need at least Perm Level 0 to be able to do their jobs. Before you can give higher-level permissions, like Perm Level 1, 2, and so on, you need to set up Perm Level 0. The error message shows a case where the System Manager role has Perm Level 1 and/or Perm Level 2 rights set up, but not Perm Level 0 rights for the same DocType. ERPNext v16 does not allow this.
You must allow yourself first to change the permission settings of the position that is making you have the problem. You can choose one of these:
- Permission Doctype at Level of 0. This helps to ensure that legitimate base-level authorisation is in place as well as assure that more advanced permissions behave as intended.
OR
- If you don’t need them, take away any permissions that are set at Perm Level 1, 2, or any higher level. After this, only the real lower-level permissions will be left.
If you follow one of the steps above and save the new permissions, you should be able to add or change permission rules in the Role Permission Manager without getting the Perm Level error.