
Campaign
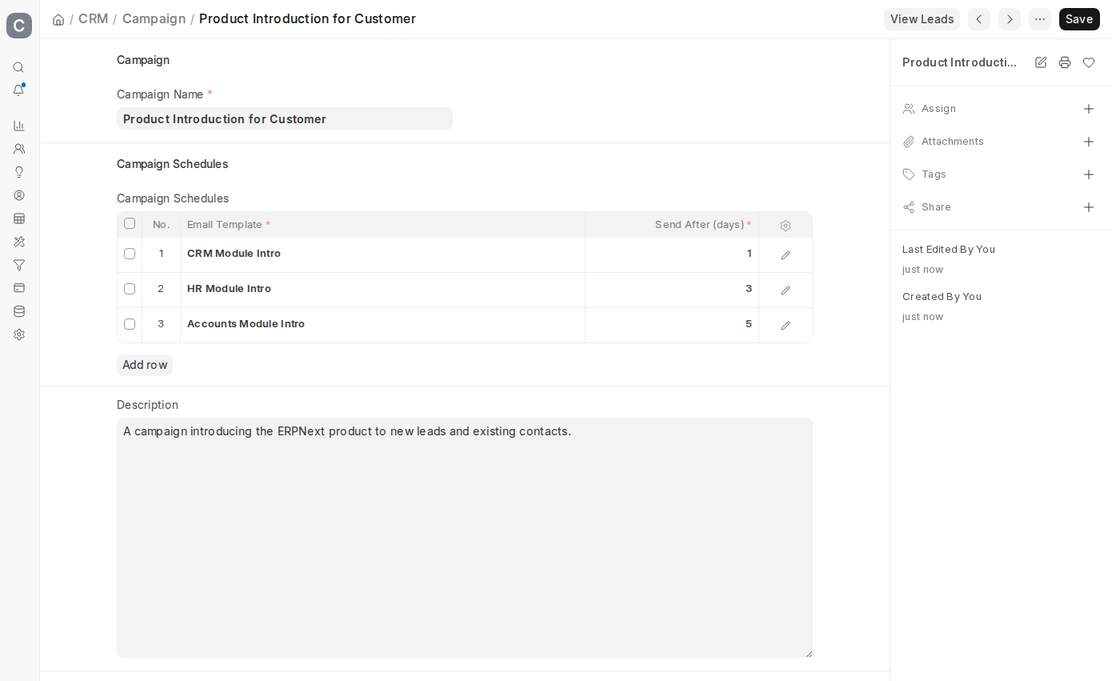
An ERPNext campaign is a focused, organized implementation of a marketing or sales strategy intended to promote one product, service, or brand. Campaigns are generally run within an assigned market segment or geographic region, with clearly defined objectives—such as generating leads, building brand awareness, or retaining customers.
Through campaign management in ERPNext, companies can consolidate all such activities, monitor responses in real time, and calculate the campaign’s total return on investment (ROI). This integration allows the marketing and sales teams to work in unison with complete visibility of how campaigns affect the sales pipeline.
To navigate to Campaigns, go to:
1. Creating a Campaign
- Click on the Campaign list and click on New.
- Type a descriptive and easy to understand Campaign Name.
- Insert a complete Description of the campaign objectives, target group, schedule, and main activities.
- Optionally, add Campaign Schedules if you want to send a series of emails for this campaign (see section 2.3).
- Save the record.
You may then relate this campaign with Leads, Opportunities or Quotations in order to monitor its performance.
2. Features
2.1 Tag Campaign within Lead, Opportunity, and Quotation
When a marketing campaign creates a new Lead, Opportunity, or Quotation, you may associate the campaign within the corresponding document. In ERPNext v16, open the Analytics section of the document, set Source to Campaign and select the campaign in the Campaign field (a matching UTM Campaign is created automatically when you save a Campaign).
- Such association enables you to monitor precisely which campaigns were responsible for the most business.
- By examining these associations, you can determine the ROI of each campaign and make educated budgeting decisions on future marketing efforts.

2.2 View Leads Generated by a Campaign
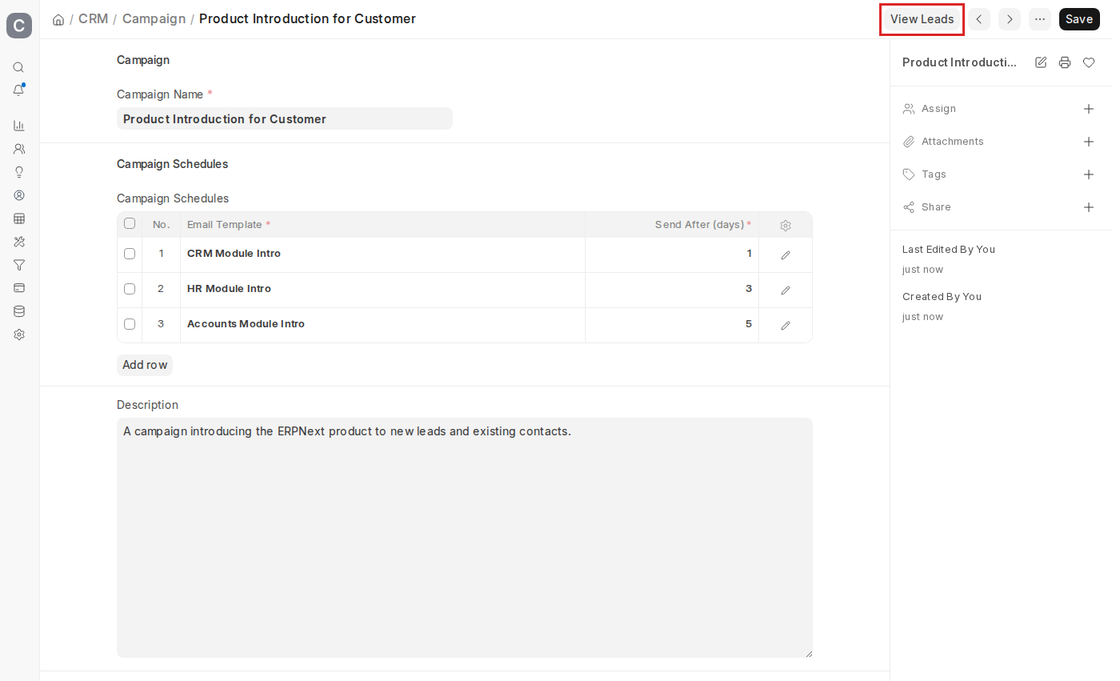
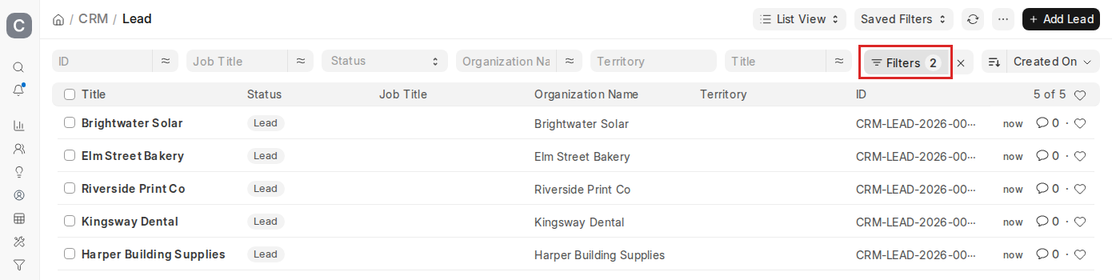
Click View Leads from the Campaign page to view a filtered list of all leads whose Source is Campaign and whose Campaign is this campaign.
- From this filtered list, you can click Add Lead to create a lead directly for the campaign.
- It is a convenient method to ensure that there is adequate campaign attribution without having to move in and out of other modules.
2.3 Set Up Email Schedules for Email Campaigns
If your campaign is based on sending marketing emails, you can automate this through ERPNext’s Email Campaign feature.
- Go to campaign schedule, Add Row in the campaign record.
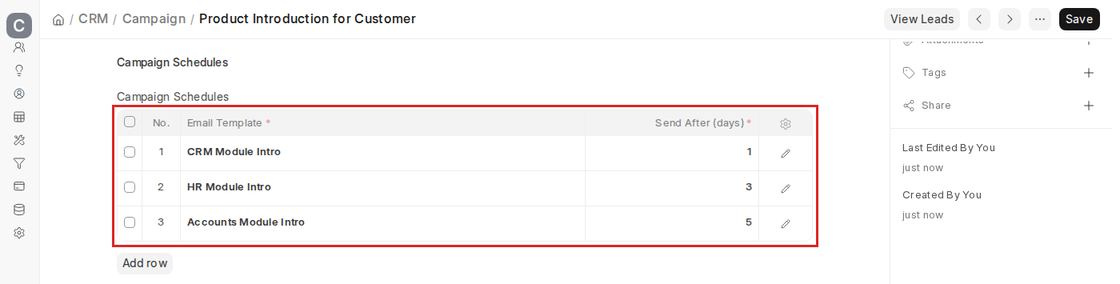
- In Email Template, select the already-completed email text with which you want to send your mailing.
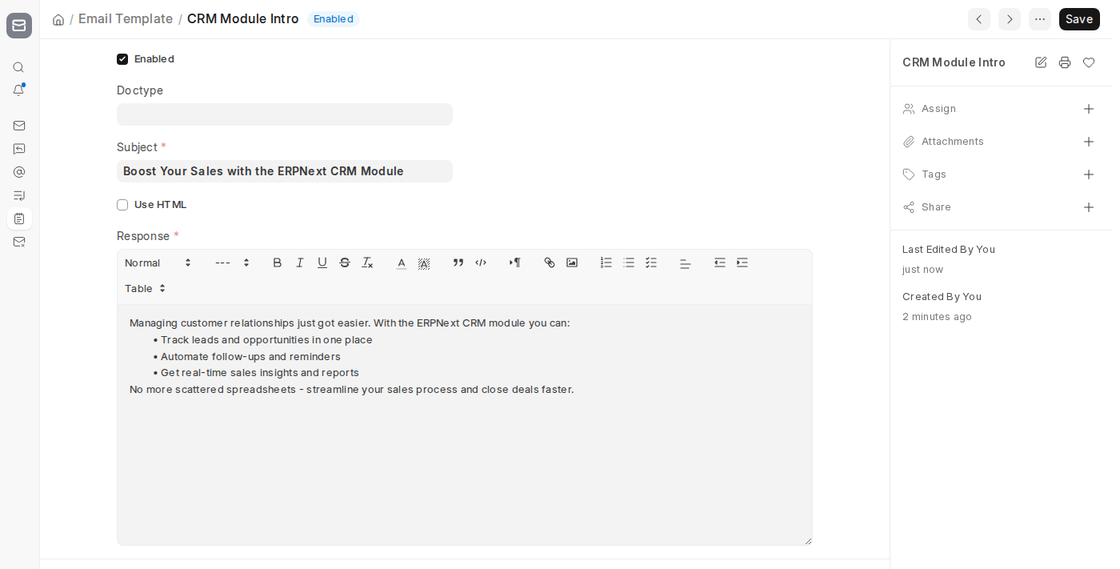
- In Send After (days), enter the wait time after the campaign start date when the email should be sent.
- Several emails can be planned to come up with a sequence-driven drip marketing strategy.
Communication can be personalized according to the lead or contact by use of email templates and placeholders.
2.4 Dashboard
In ERPNext v16 the Campaign form does not have a dashboard of linked records. To send the scheduled emails, create an Email Campaign from Desktop > CRM > Campaign > Email Campaign:
- Select the Campaign.
- Choose Email Campaign For (Lead, Contact or Email Group) and the Recipient.
- Set the Start Date. The End Date is calculated from the campaign schedules, and each email is sent after its Send After (days).
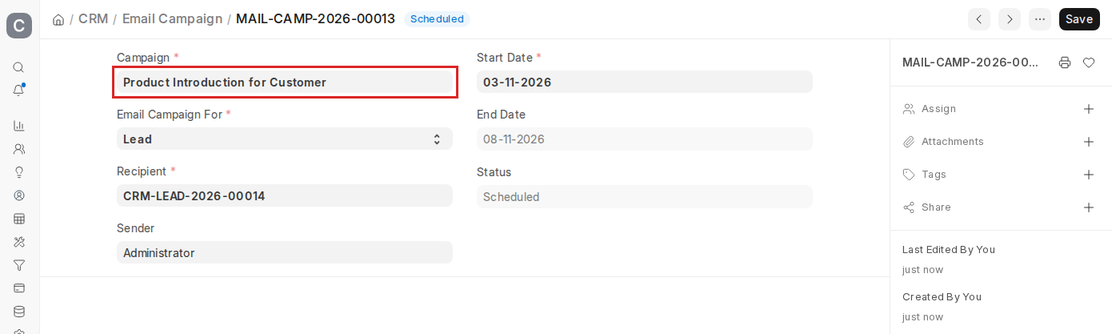
The status of the Email Campaign changes from Scheduled to In Progress and Completed as the emails are sent.